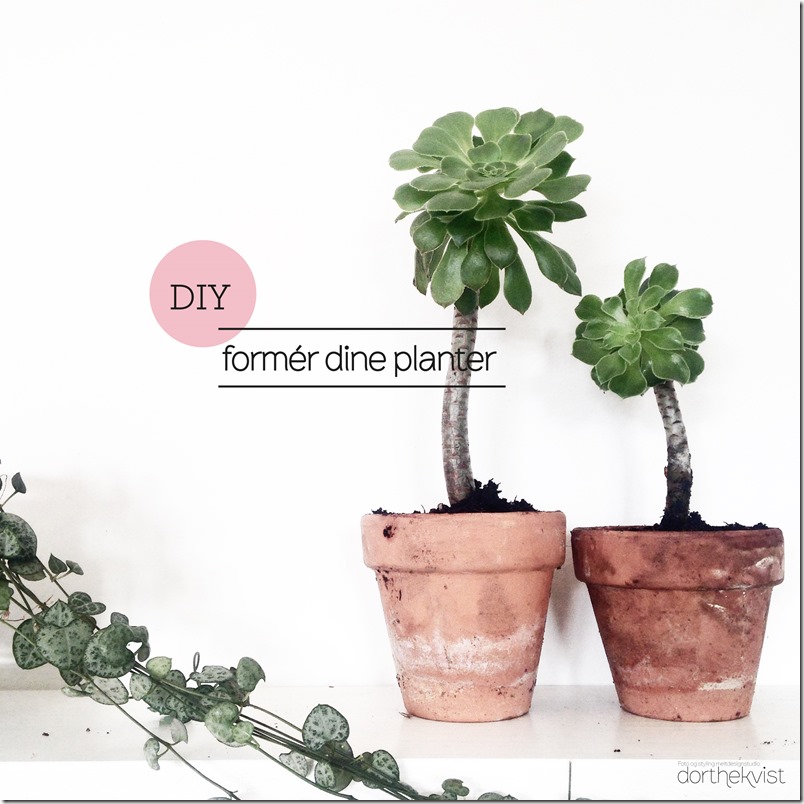
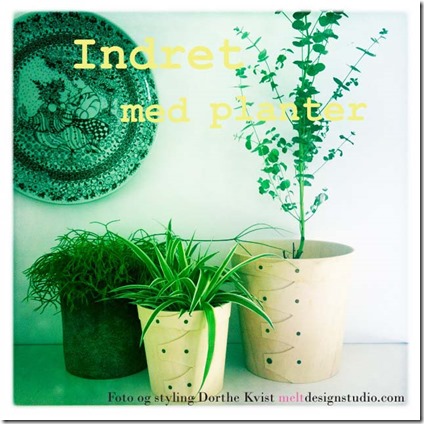
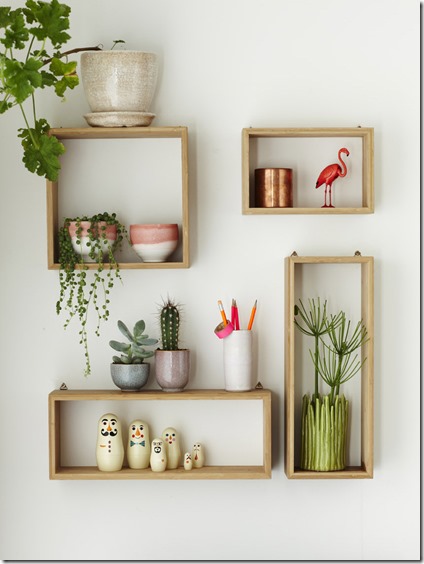
Det er ikke nogen hemmelighed at jeg elsker planter, og ligeså meget indenfor som uden for. Planter kan virkelig give noget til et rum i form af stemning og fell-good-faktpor. Og så var det lige at jeg faldt over dette fantastisk projekt på bloggen Designsponge
Instructions
1. Prep: Print out the plant hanger pattern onto 8.5? by 11? vellum paper.
2. Placement: Lay the pattern down on the leather and find the perfect placement to transfer the pattern (not too close to the sides, and avoid any blemishes in the leather).

3. Softening the leather: Wet the leather somewhat evenly by dipping the sponge down into the purified water, then blot the water onto the leather. Repeat this step at least three times until the leather looks like it can?t take any more water. This will soften the leather and allow us to press our pattern into it easily.

4. Transferring the pattern: Now, place the Vellum pattern down on the leather and tape it in place. With your dull pencil, draw on top of the printed lines with a medium weight, pressing into each and every line. This will press the pattern into the softened leather.

5. Cutting: Now, pull the pattern off the leather to reveal the impressions you have made on the surface. Using the carpet knife or X-Acto, start cutting onto and into the impressed lines ? all the way through. Cut every line including the outside perimeter line.


6. Dyeing: Note ? This step is optional, depending on the color desired and materials at hand. In our case, we are dyeing this one dark brown. Once the leather has dried for at least an hour, apply the desired dye. I recommend Tandy?s Leather Factory Eco-Flo Dye ? it?s water based, low VOC and meant for use on natural veg-tanned leather. Apply the dye with a sponge while wearing gloves until the desired effect is achieved.

7. Casing and Shaping: As the leather is drying, pull at the leather a bit to expose those cut marks you made. You will begin to see the leather take a new shape. Keep pulling and stretching the leather to create the basket shape that it will soon dry to be in a stiffened form. This shaping of wet leather and drying process is called ?casing.?

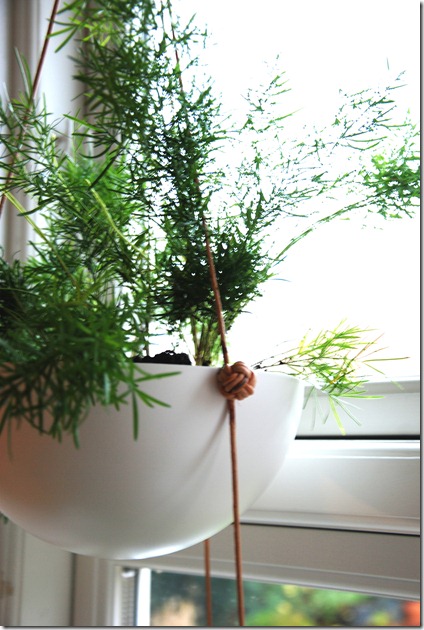
8. Suspending: Once the leather is completely dry and you have your plant basket shape, punch four holes in the top to run the ropes through. You want to place the holes evenly apart from each other so that the leather plant basket hangs evenly. Tie a knot at each rope so it cannot pull through. Note ? You can use leather lacing, twine, or anything you desire.

9. Styling: Add tassels, beads, rivets ? whatever you want to achieve the style you are envisioning. Macramé would be an added bonus to this project!


10. Mounting: At the top of the hanging ropes, grab all four strands and tie them into a knot. You can use this knot to hook onto a ceiling mounting hook and/or a ring. At this time, adjust to the proper height for the basket to hang.


You?re done!


God fornøjelse !

Knald god ide 🙂